current version: 1.4 [release notes]
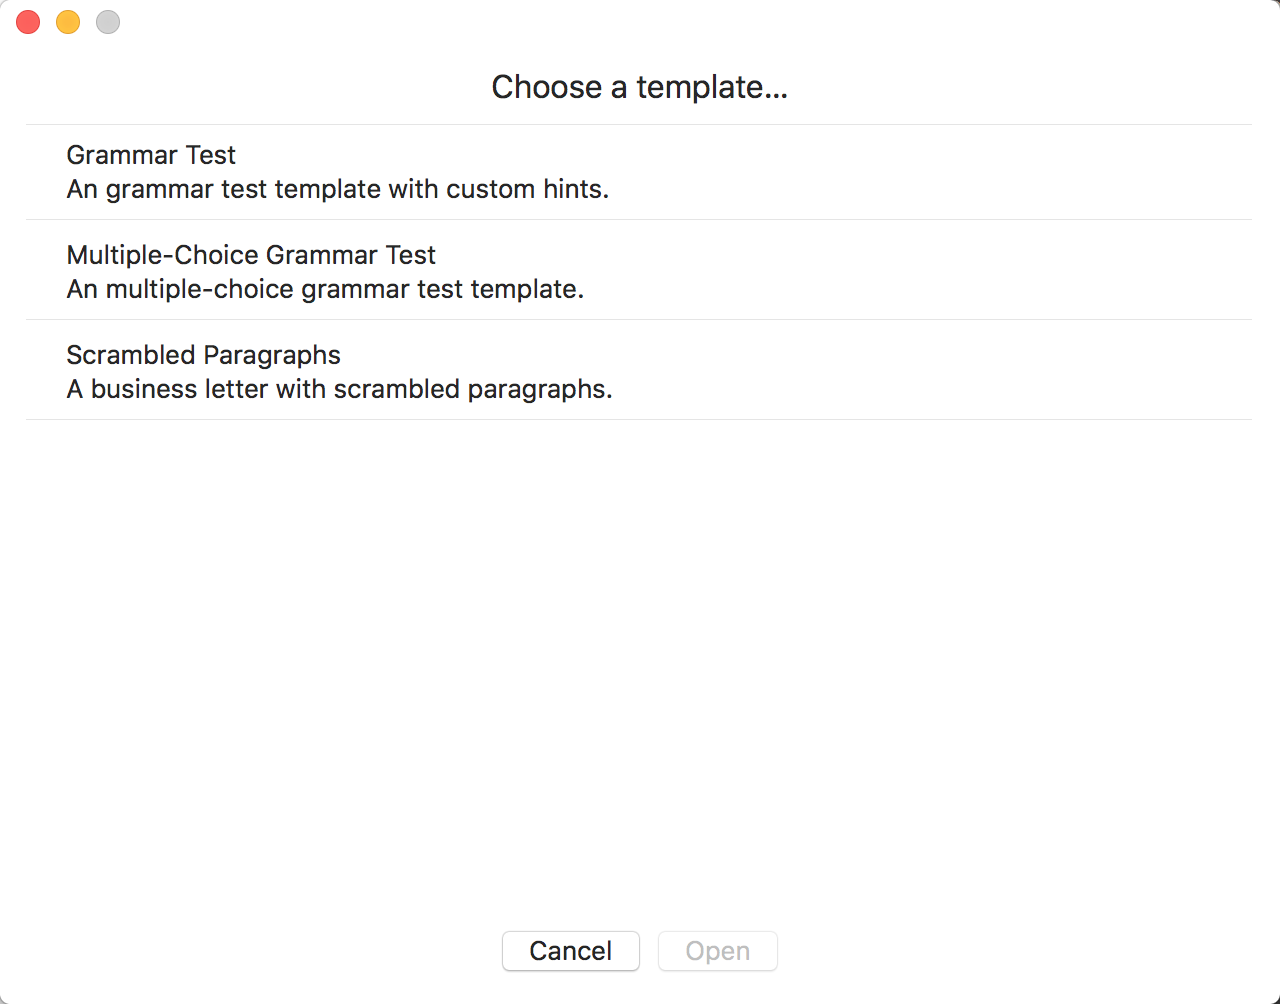
In the menu bar click on “File -> New from template” or press Command + Shift + n. The template chooser opens. Double click one of the templates to get started.
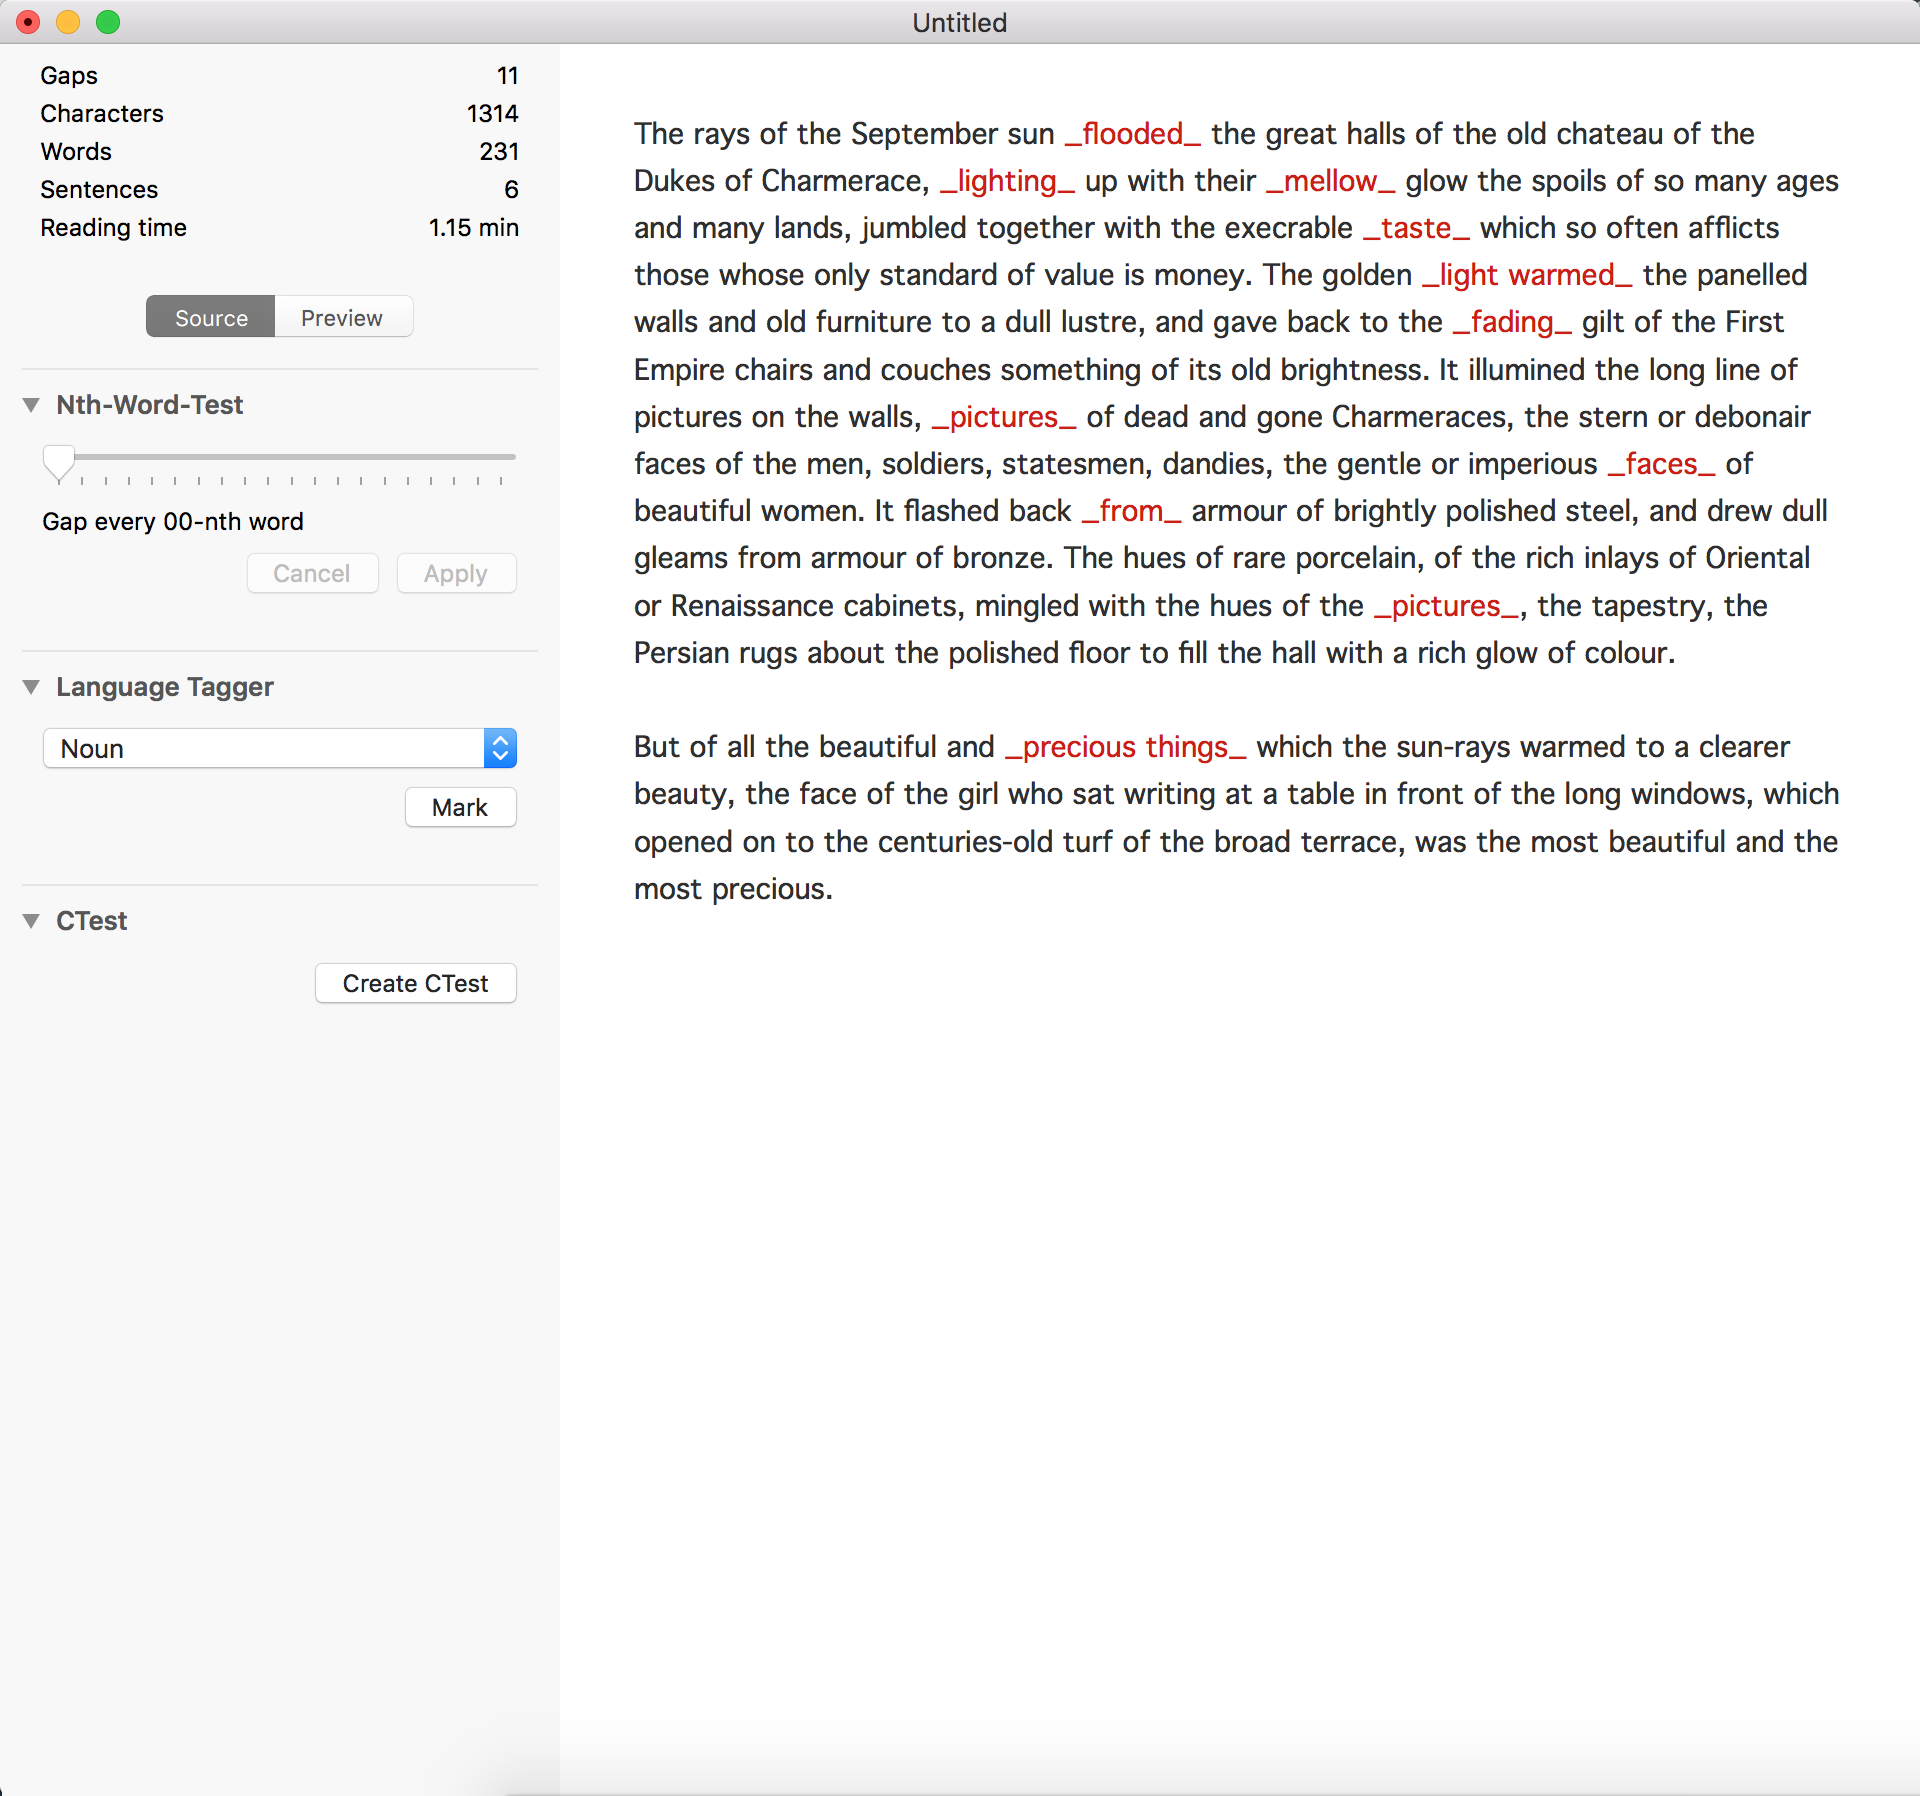
Click on the “Source” button in the sidebar if you are in Preview mode. Enter the text in the editor or paste your text from another application.
Move the cursor to the word which you would like to mark as a gap. Now you can either:
The current selection will be enclosed in underscores and marked with a red background showing that this will be turned into a gap. If you would like to have more than one word or parts of a word in a gap, select these words first then proceed as described above.
Enter your text in the source editor. In the “Nth-Word Inspector” in the sidebar adjust the slider to your liking. The source view will already highlight the gaps. If you like the result you can press confirm in the sidebar or otherwise cancel.
Select the word type you would like to turn into gaps in the “Language Tagger Inspector” and press “Mark”. Boom all the words will magically turn into gaps.
A ctest is standardised form of a cloze test. There are no gaps in the first sentence. Starting with the second sentence the second half of every fifth word is marked as a gap. In total there will be 25 gaps. So a ctest could look like this (based on Agatha Christie’s “THE MYSTERIOUS AFFAIR AT STYLES”):
Source Text:
The intense interest aroused in the public by what was known at the time as "The Styles Case" has now somewhat subsided. Nevertheless, in view of the world-wide notoriety which attended it, I have been asked, both by my friend Poirot and the family themselves, to write an account of the whole story. This, we trust, will effectually silence the sensational rumours which still persist. I will therefore briefly set down the circumstances which led to my being connected with the affair. I had been invalided home from the Front; and, after spending some months in a rather depressing Convalescent Home, was given a month's sick leave. Having no near relations or friends, I was trying to make up my mind what to do, when I ran across John Cavendish. I had seen very little of him for some years. Indeed, I had never known him particularly well. He was a good fifteen years my senior, for one thing, though he hardly looked his forty-five years. As a boy, though, I had often stayed at Styles, his mother's place in Essex.
C-Test:
The intense interest aroused in the public by what was known at the time as "The Styles Case" has now somewhat subsided. Nevertheless, in view of t____ world-wide notoriety which attended i__ I have been asked, bo____ by my friend Poirot a____ the family themselves, to wr______ an account of the wh______ story. This, we trust, wi____ effectually silence the sensational rum________ which still persist. I will therefore briefly s____ down the circumstances which l____ to my being connected wi____ the affair. I had been invalided ho____ from the Front; and, af______ spending some months in a __ rather depressing Convalescent Home, w____ given a month's sick le______ Having no near relations o__ friends, I was trying t__ make up my mind wh____ to do, when I r____ across John Cavendish. I h____ seen very little of h____ for some years. Indeed, I __ had never known him partic____________ well. He was a go____ fifteen years my senior, for one thing, though he hardly looked his forty-five years. As a boy, though, I had often stayed at Styles, his mother's place in Essex.
As a standard setting Gapped will count one credit per gap. However sometimes you may want to give more credits for certain gaps. Simply add the number of credits inside the gap, enclosed in parenthesis, e.g. _my gap (2 cr)_ The example gap will be counted with 2 credits.
You can add a multiple choice field by:
_[correct answer/answer 1/answer 2]_
Click on the “Preview” button in the sidebar or press Command + R to open the preview.
This is one of the core functions of Gapped. No more tedious typing, manually counting credits, etc. After you entered your text and opened the preview function you can easily adjust the parameters of your exercise using the inspector pane on the left.
There are two sizing modes for gaps:
Further available options:
_word1 word2_ will be transformed to __________ __________ if checked or ______________________ if unchecked.Available options for the position of hints:
Adding distractors to your text will make the text more difficult for students. Additional words will be added to the hints which do not fit into any of the gaps. There are two ways to add distractors:
Obfuscating hints will make the hints more difficult to identify and decipher. The following options are available:
_word_ could become dowr or wdro_available_ will become _v__l_bl___word_ will become _o__Furthermore, the following options are available for hints:
_word._ will become word_Word_ will become wordThe following export options are available:
| Shortcut | Action |
|---|---|
| ⌘ Command + G | Toggle the currently selected word as a gap |
| ⌘ Command + ⌥ Alt + G | Remove all gaps from the whole text |
| ⌘ Command + R | Toggle source view / preview |
| ⌘ Command + 1 | Open the source view and toggle the nth-word test inspector pane |
| ⌘ Command + 2 | Open the preview and toggle the gaps inspector pane |
| ⌘ Command + 3 | Open the preview and toggle the hints inspector pane |
| ⌘ Command + 4 | Open the preview and toggle the task inspector pane |